One thing we had decided that we definitely wanted to do back before we put in an offer on the place was to open up the tiny doorway between the kitchen and living room. The kitchen felt really closed in, and the living room had this long interior wall. By opening up the doorway, we’d get more light through the entire floor and the kitchen wouldn’t feel so claustrophobic.
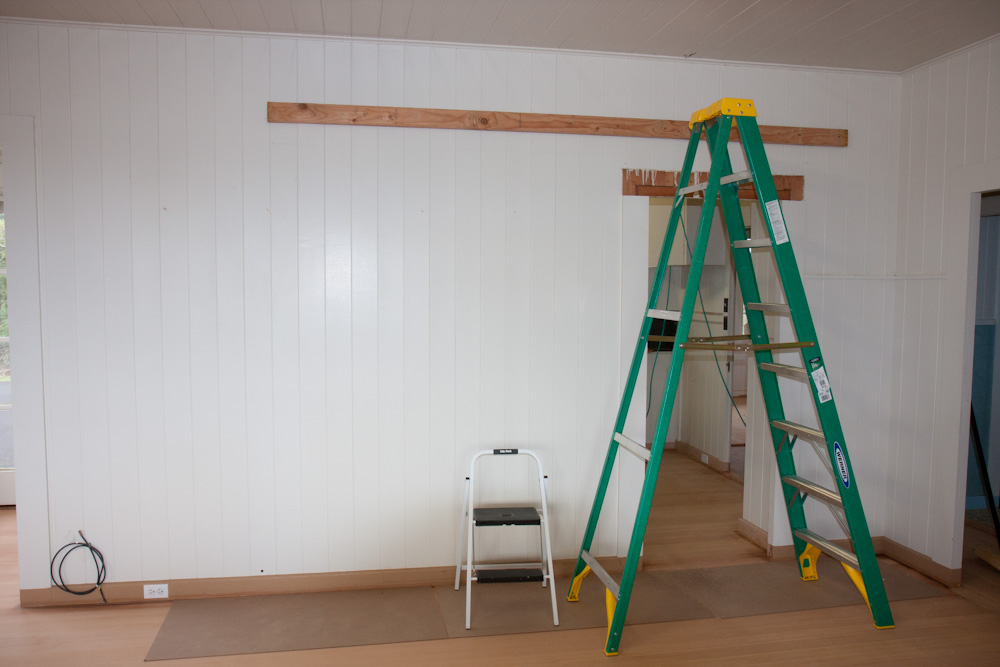
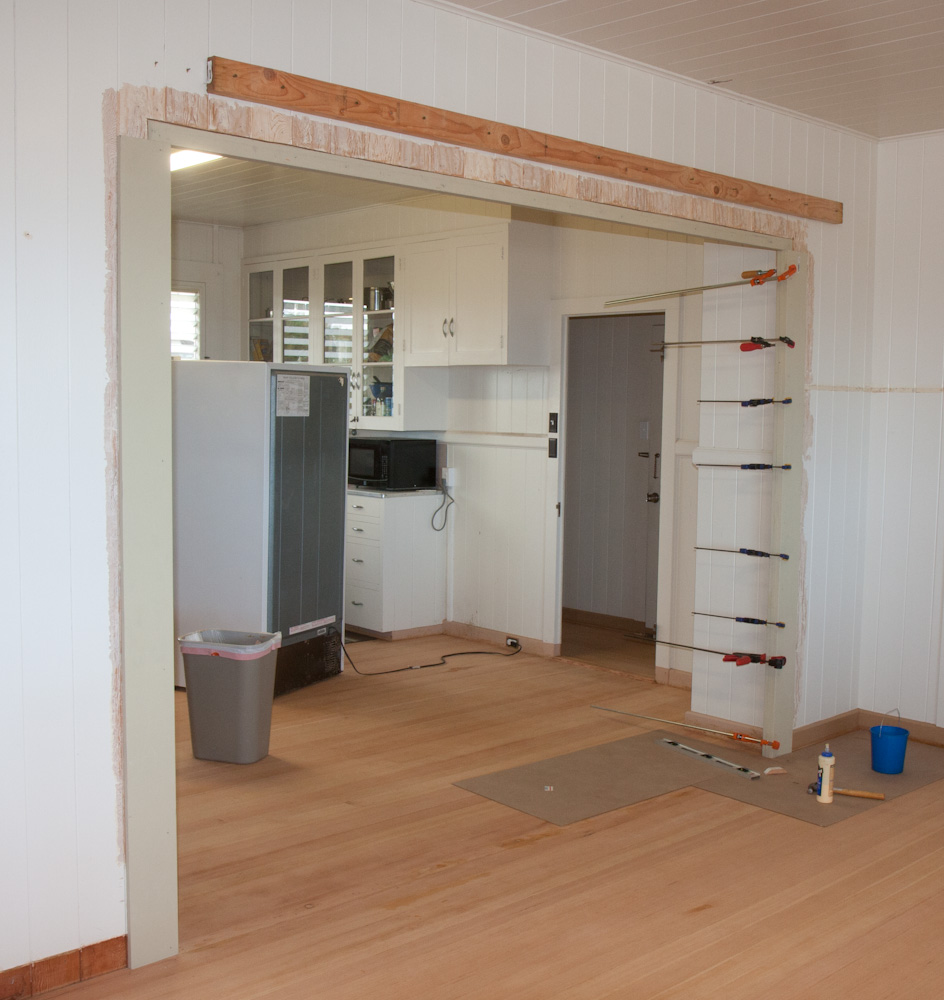
The doorway between the living room and the kitchen was this tiny door that made the kitchen feel very closed in. It had to go. The beam across the top is to hold the top of the wall rigid when we cut away the bottom.
We started this project in parallel with the floor sanding, since we needed to get rid of the wall before sanding those rooms. The house is made with “single wall” construction, so this wall was just made up of a single layer of tongue-and-groove planking, with a waist on one side, not very sturdy at all. The planks are just put on top of the floor and nailed down, and the same against the ceiling. This makes it easy to just remove it. There are no issues with it being load-bearing either.
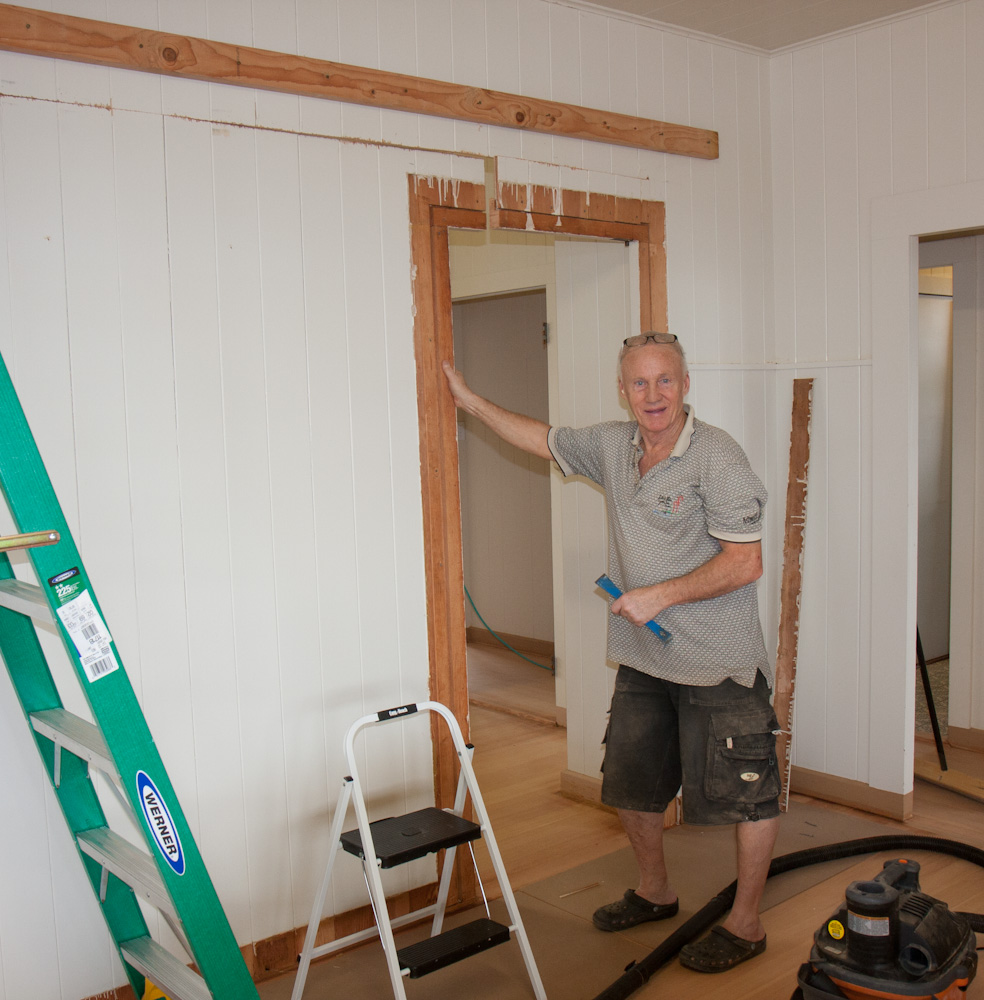
Bengt has started cutting the top of the wall. Note that he can easily bend it apart at the cut with his hand.
After nailing two sturdy beams across the top to hold the remaining wall while we cut the bottom out, we pulled out the saw and started cutting. In no-time, the wall was loose.
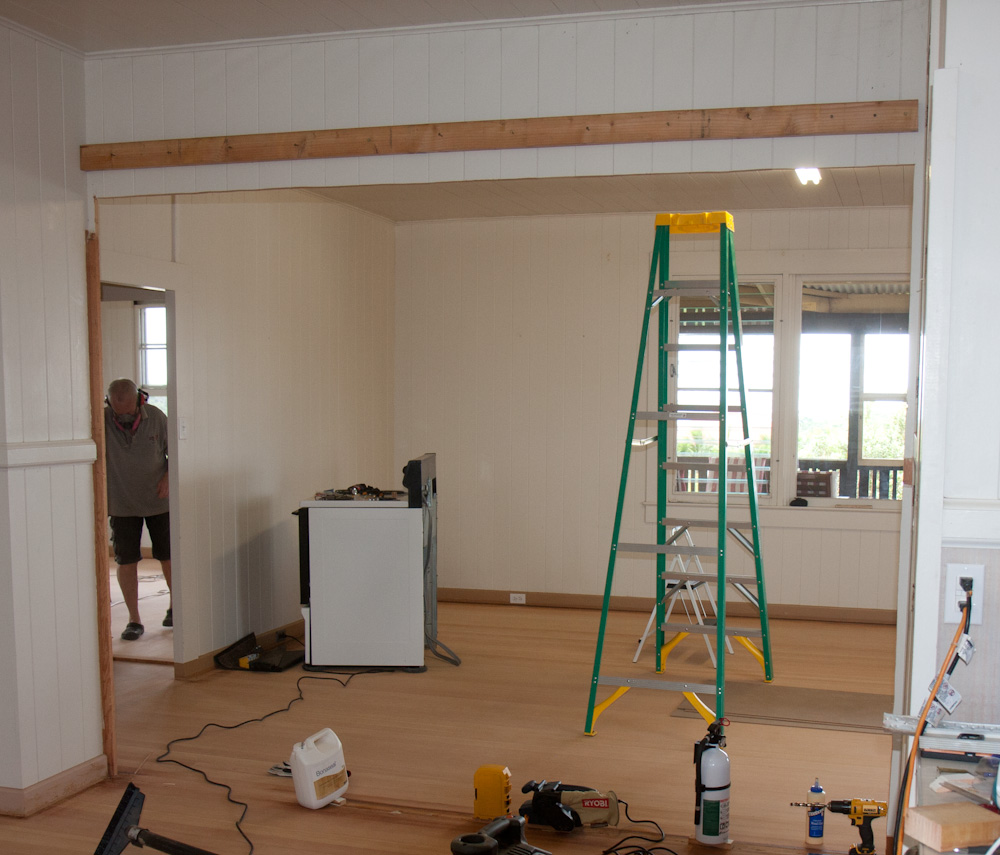
Now the kitchen is open to the living room. A much more airy feel.
We had to be a bit careful getting the planks loose from the floor to minimize damage to the floor where they were nailed. After careful leveraging, they came out OK. However, there were clear traces of termites that had bored down through the inside of the wall and down into the floor boards. We had to do quite a bit of filling, so it’s not exactly hard to tell where the wall used to be.
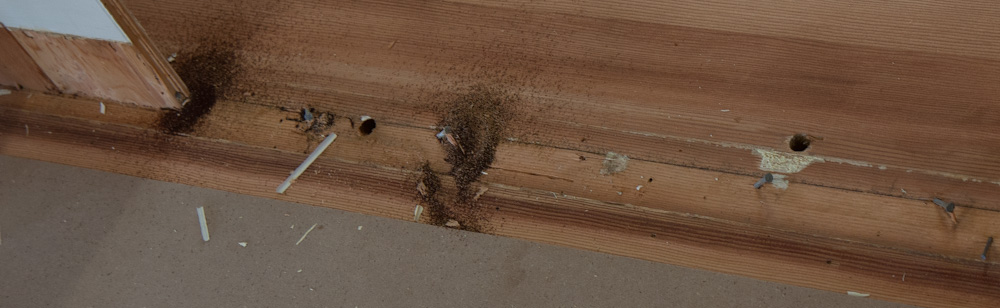
The wall planks were to the floor with nails from both sides. Obligatory termite traces also visible.
Once the wall was gone, we went down to HPM to look for appropriately sized wood for making the frame. This was a bit tricky, because the old frame was made by cutting out a slot for the wall planks with a table saw. We didn’t have a table saw, and in any case we couldn’t find anything of the correct thickness. Finally we realized that we could manage by gluing several pieces together.
After removing the wall, we added framing. Finding pieces of the right size proved to be a bit tricky.
The frame was then glued together around the wall and nailed. It’s pretty sturdy.

The completed doorway. We really like the result.
The frame is still unpainted, but since we’re going to repaint the walls anyway, that’ll have to wait until we get to that point.
Pingback: Garage door | Patrik's projects
I like the fact that Bengt and Patrik thought to make the frame on the kitchen side have the same thickness as the other door frame in that room (back and to the right in the last photo). While from the living/dining room side, they had a thicker frame to match the door frames in that room.