While all traces of the carpet in the other rooms got ripped out in less than two days, it took about a week to get it all out from the kitchen. This had to be done in stages. First, the carpet was ripped up. However, since the carpet was glued to the floor (as seen in the last picture in the previous post) this left part of the backing foam. To soften the glue so the foam could be scraped up, I used a carpet glue stripper whose active ingredient is methylene chloride, an incredibly nasty chemical. Getting it on your skin results in immediate chemical burns, and even the vapors give a burning sensation. It also has a tendency to penetrate most rubber gloves, even the pretty thick nitrile ones I used. Last but not least, it’s also a severe inhalation hazard. Its high vapor pressure means that it quickly evaporates and in areas with poor circulation the concentration can reach lethal levels! Moreover, organic respirator cartridges offer only temporary protection, so for sustained work a full-face, supplied-air respirator is necessary. If you imagine that a chemical like this would be regulated, you are mistaken. Go to the nearest hardware store and check, you’ll find that most paint strippers are methylene chloride based. If you are interested in more information about this nice household chemical, try following some of the links from that Wikipedia page. Suffice to say, I was less than pleased about having to work with it. The work became even less pleasant because it required me to squat for many hours wearing long pants, long sleeved shirt, goggles, and respirator. Now, we have good airflow through the house, but it still means it’s +25C inside on a nice day…
The foam had to removed by softering the glue with adhesive stripper, an incredibly nasty chemical. (Apparently there have been 13 fatalities due to this chemical, methylene chloride, since 2010….) And it had to be done in small sections, which made it very slow.
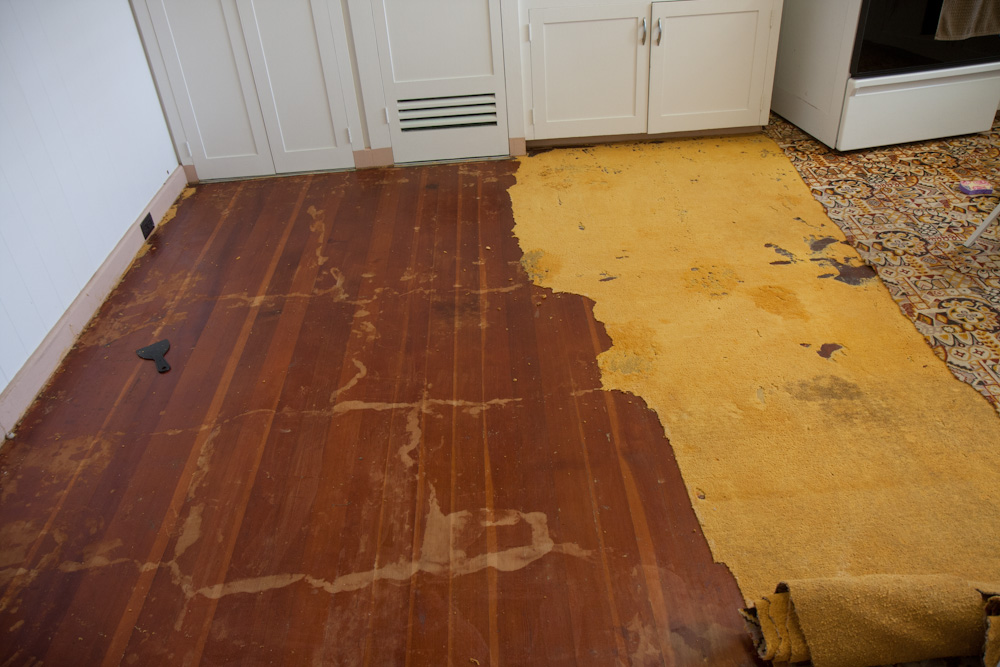
The work had to progress in stages. Stripper was glopped out on the foam, covering about a square meter, and covered with plastic sheeting (to prevent the stripper from evaporating before it has time to do its job). Because the foam is thick and sucks up the stripper, an absurd amount had to be used. In total, I went through about 3.5 gallons of it before the kitchen was done. The stripper was distributed by squeegeeing on top of the plastic in a procedure very similar to spreading epoxy on fiberglass. After 10 minutes, it’s time to remove the plastic sheet. If you were lucky and you got stripper everywhere, the foam comes off the floor in large sheets. If you’re unlucky, it doesn’t and it was necessary to either scrape hard or try to find unused stripper to move over to the dry part. Because the stripper evaporates so quickly, if you lift a piece of foam up and then drop it back down on the surface after 10 seconds or so, enough stripper has evaporated that it re-adheres and you’ll have a very difficult time getting it off without starting over again. When all the foam in the square meter you worked on is gone, you proceed to the next square meter and do the same thing. Am I making clear how much I was not a fan of doing this?
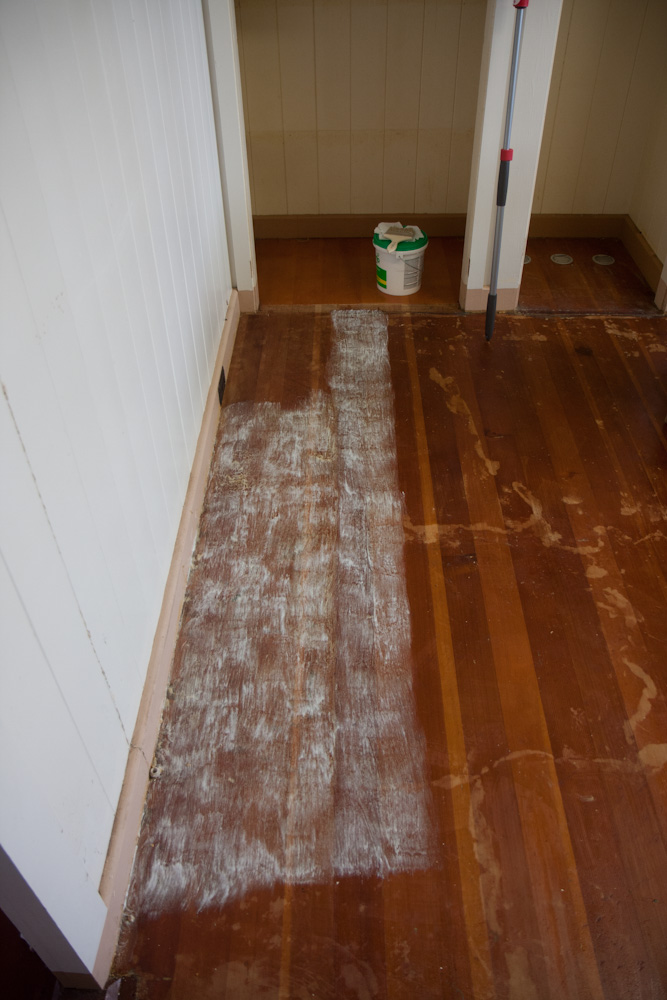
After the foam had been removed, a sticky layer of glue remained. This also had to be stripped, but we could at least use a more environmentally friendly stripper.
Once the foam was gone, there was still enough glue stuck to the wood that it would glue your shoes in place if you stood in one place for too long. I figured this would completely gum up any attempt at sanding the floor, so the glue had to come off. Luckily we could now use a more environmentally friendly chemical to do the job. SmartStrip proved very effective at dissolving the glue (and the old floor finish, too) and unlike the other stuff, the personal protection here pretty much extended to “don’t get it in your eyes”. (I tried to see if it worked on the foam, too, but it didn’t. Unlike the methylene chloride, it didn’t penetrate the foam to get down to the glue, even overnight. Too bad.) It still took a long time, though.
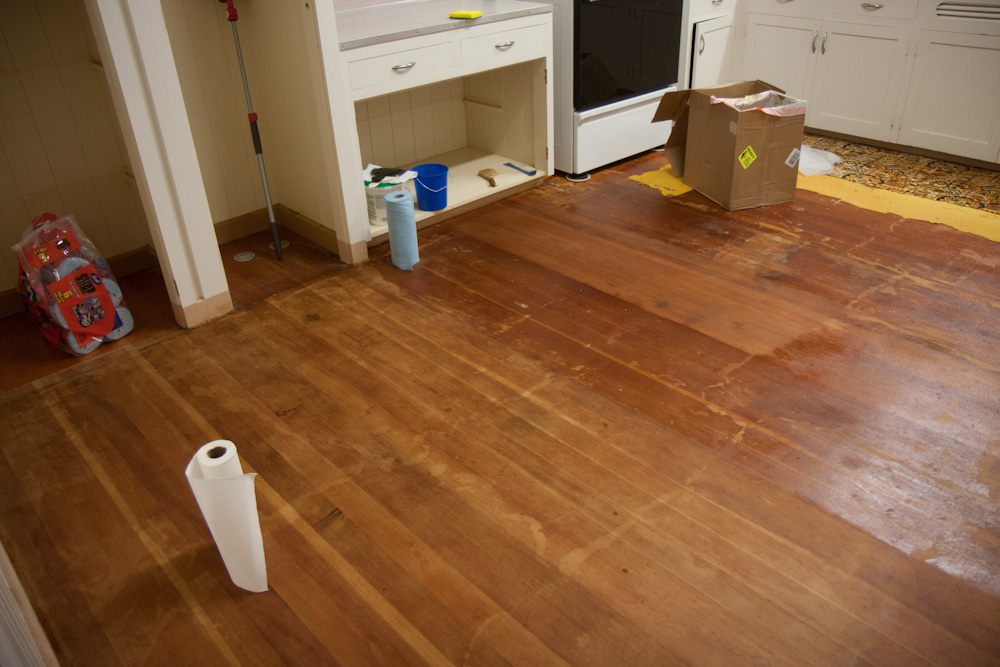
We slowly worked our way across the kitchen, first stripping the foam and then the glue. Overall, it took a week.
In the last picture above, you can see the original carpet to the right, then foam where the carpet has been ripped up, then the bare wood, shiny from the glue layer on it, and, finally, on the left the bare wood with glue and most of the floor finish stripped. Overall it took about a week to get the kitchen done, not so much in effective work time but rather because of waits and because there are only so many hours a day you can hunch over while sweating like a pig. It quite reminded me of “gummimarschen”, an exercise we did during my military service (which, in case you didn’t know, was as a chemical and nuclear weapons defense specialist. We spent a lot of time running around in gas masks and complete rubber suits…) The sensation of raising your arms above your shoulders and feeling the sweat that has pooled in your gloves run down your arms is quite characteristic…
Just for kicks, I dug out an archival picture from 1991. It’s not me, but it illustrates what I’m talking about:
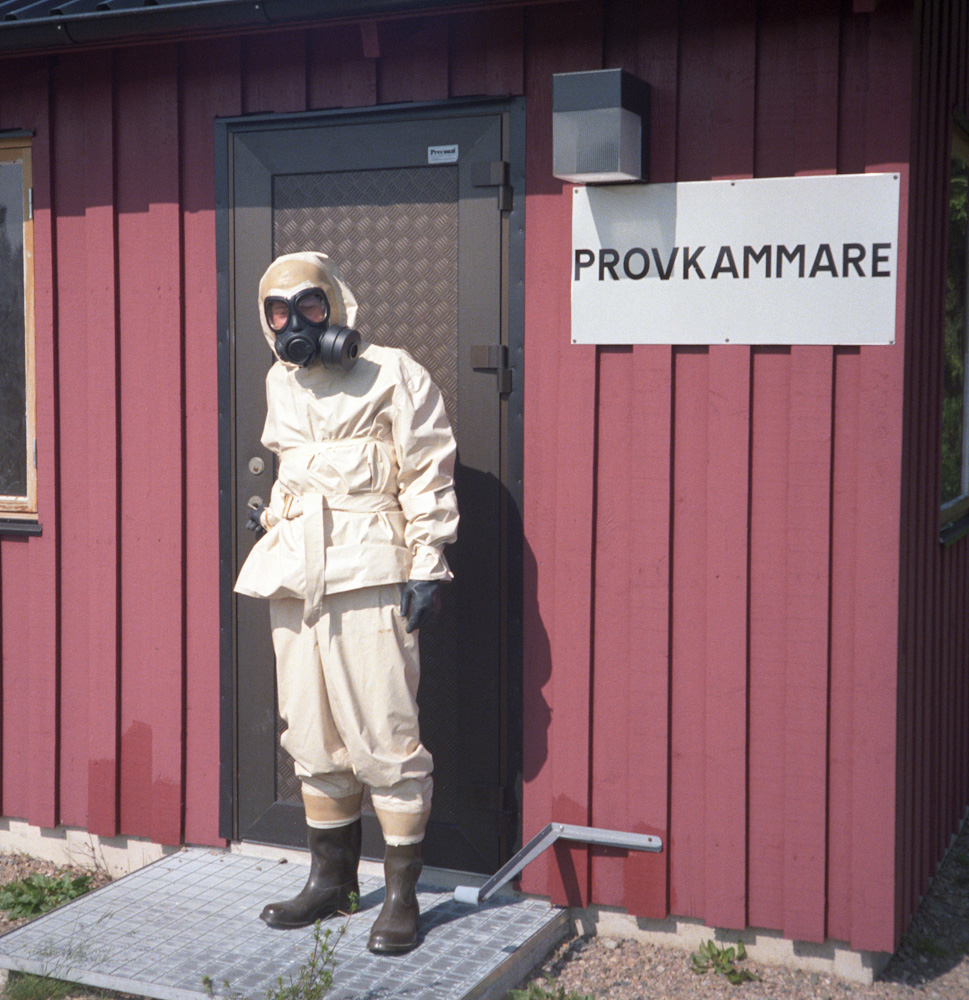
An old picture from my military service, showing the chemical protection suits and gas masks we used. “Provkammare” means “testing chamber”, where tear gas is used to make sure there are no leaks in the equipment.
Anyway, we got it done just in time for the reinforcements to arrive. Bengt was on the way!
Pingback: Floor refinishing #3 – sanding | Patrik's projects
Pingback: Basement “un-finishing” #1 | Patrik's projects