It’s been almost a year since the first installment of the makeover. The unpainted side fairing has been lying around taunting me, but I was a bit intimidated by embarking on painting.
Not long after the last post, I went to the local Finishmaster store. They were super helpful, matched the paint from the good side panel and said this should work fine. It’s apparently getting hard to find solvent-based paint in California due to emissions regulations, but they are easier to paint and luckily a good match existed. I left the store with my backpack stuffed with primer, base coat, a good-quality DuPont 2-component clear coat, and other good stuff.
I was following this post from BARF, which is a good overview of how to paint. He really stresses the importance of practicing before starting to spray the actual pieces, so I started with an empty water jug: filling, sanding, filling some more, sanding even more… Eventually, I got to primer, sanding, base coat, and it was looking pretty good. Then it was time for clear coat, and stuff fell apart. (Which incidentally is exactly what reckon says in that post.) I could not get an even surface, the clear orange peeled like crazy. Normally you’d only use two coats, but since this was a practice piece I kept trying different paint gun settings to see if it would make a difference. Eventually, the clear started running…

Even if I failed miserably with the water jug, it’s clear the paint is a good match. The jug looks a bit greenish in this picture, but that’s because of the very thick layer of clear coat.
I was sufficiently discouraged by the inability to get a good, even spray of clear that I lost momentum. The orange peel can have many different sources, like the coat not being dry enough, too low pressure (I think), and too high temperature for the clear. The trouble is that it’s hard to do a scientific analysis of this without using an inordinate amount of the (quite expensive) clear.
Anyway, 9 months later and I decide that no matter how bad the paint might get, it’s going to look better than riding around without a side panel, which I’ve now been doing for almost a year… The filling was almost done, so I just applied a bit more glaze on the uneven spots and tried priming it.
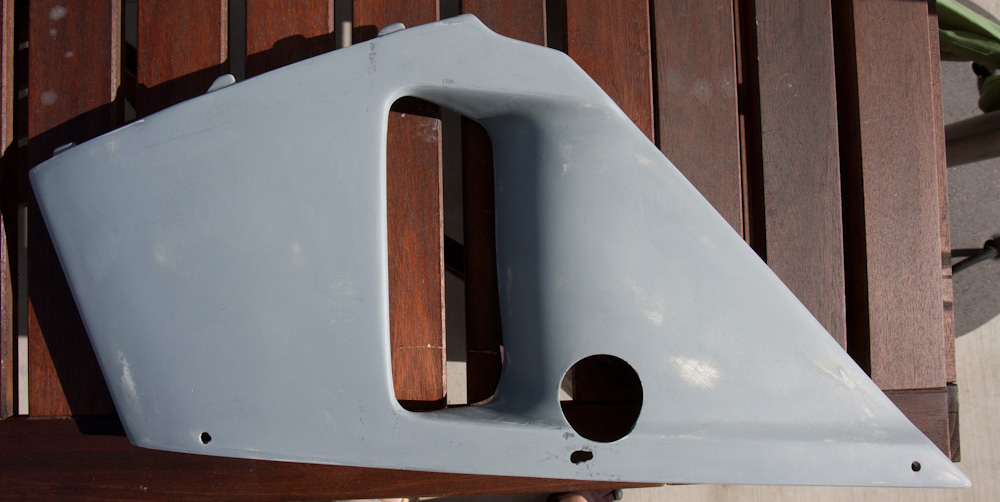
The first coat of primer, after sanding. I blew through the primer at several points.
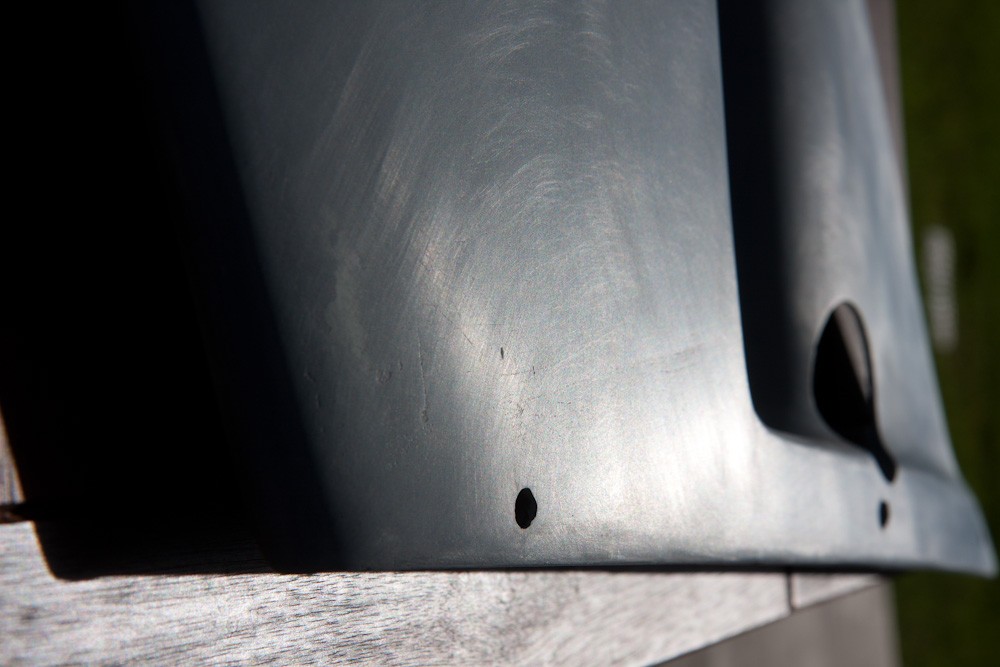
This closeup shows that there are quite a bit of unfilled pinholes and gouges still visible.
The first attempt was not entirely successful, as is obvious from the pictures above. I went back and re-primed, sanded (more carefully around the edges this time) and this time it looked better:
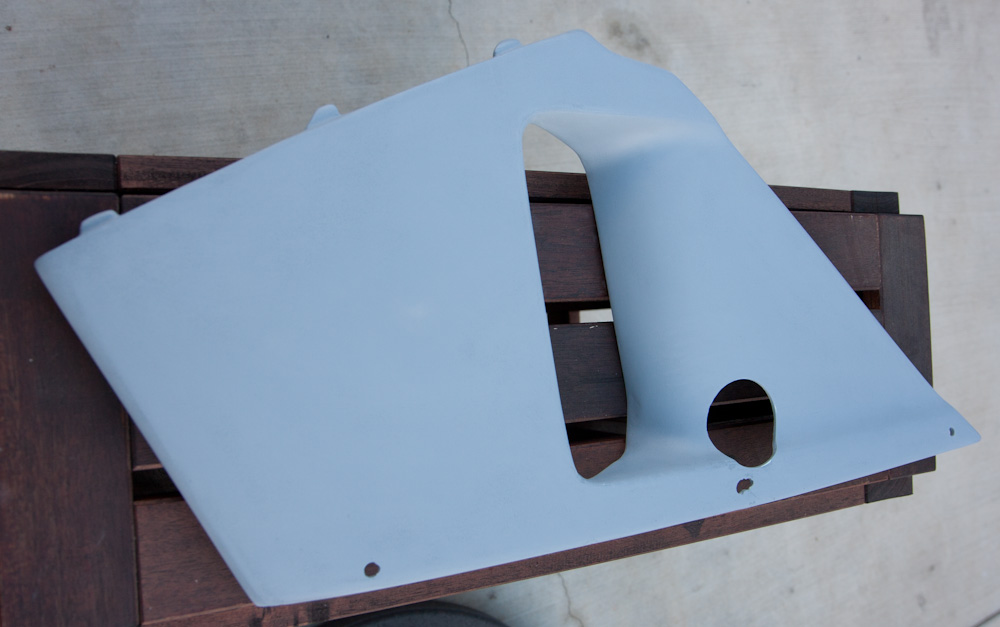
The second attempt at priming. This time I tookcare not to blow through the primer on the edges.
There are still obvious flaws, there’s a flat spot in the intake, and the places where the panel was plastifixed are still visible in the guide coat.

The spots where the panel was plastifixed are still somewhat visible in the guide coat.
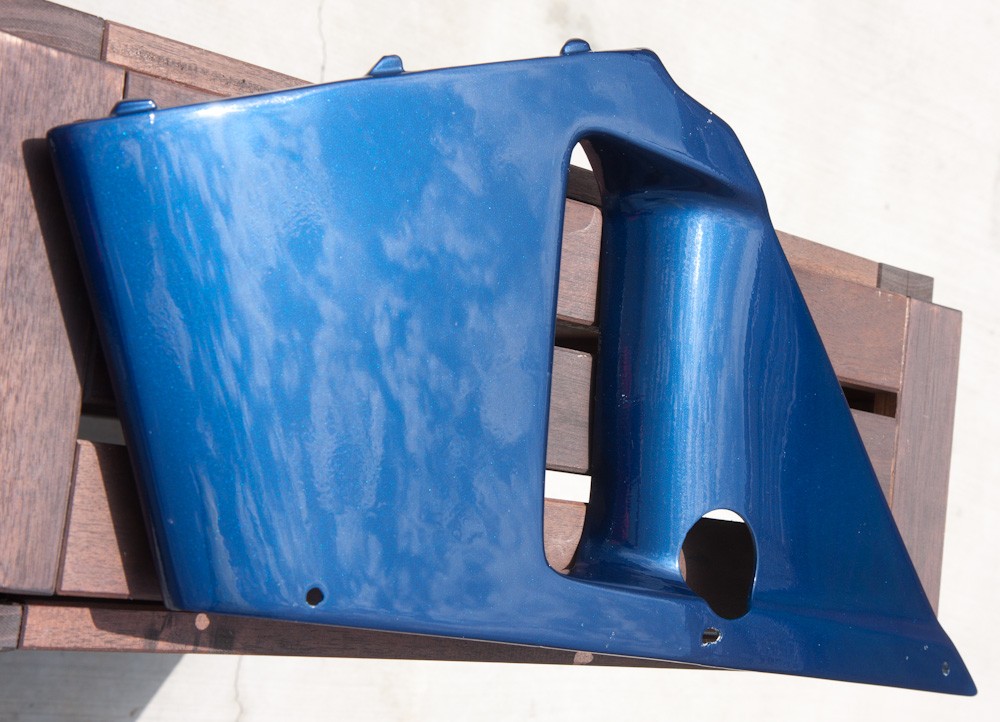
Then it was time for the real deal. I hauled out the paint gun, respirator, various nasty solvents, etc. It worked much as before: the base coat came on fine, the clear coat orange peeled like crazy. I ran into the additional problem that I reused the same paint bottles I had used before, and the clear coat apparently dissolved small chunks of old clear coat that ended up as small, sticky, clumps in the clear. Sigh — that lesson is at least easy to learn. Apart from the uneven surface, it looked pretty good:
The freshly painted side panel against the old one. The paint is very similar.
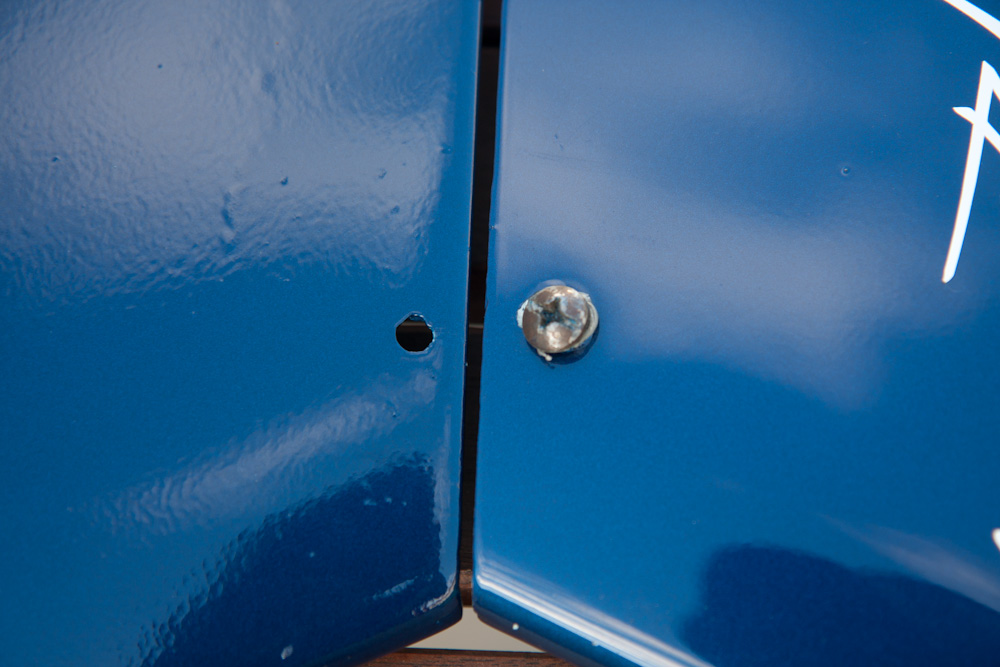
This closeup really shows how uneven the new clear coat is compared to the old one which is totally smooth. I also got a little run in the clear above and to the left of the screw hole.
In a pinch, this would be usable, but I figured I had nothing to lose by trying to sand and buff the clear coat to get rid of the imperfections. After a few minutes of wet-sanding with 2000 grit (taking care to stay away from the edges) it looked like this:

After blocking with 2000-grit, I got rid of most of the orange peel on the flat parts.
There were a few sections with remaining imperfections, which isn’t surprising given how uneven the piece was to begin with.
Now “all” that remained was to buff the clear coat until it’s shiny again. This should really be done with a machine, because it’s ridiculously hard work. (Though using a rotary buffer on motorcycle parts is difficult because they are so uneven and it’s easy to burn through the clear on the edges. After putting quite a bit of elbow grease into it, it looks like this:
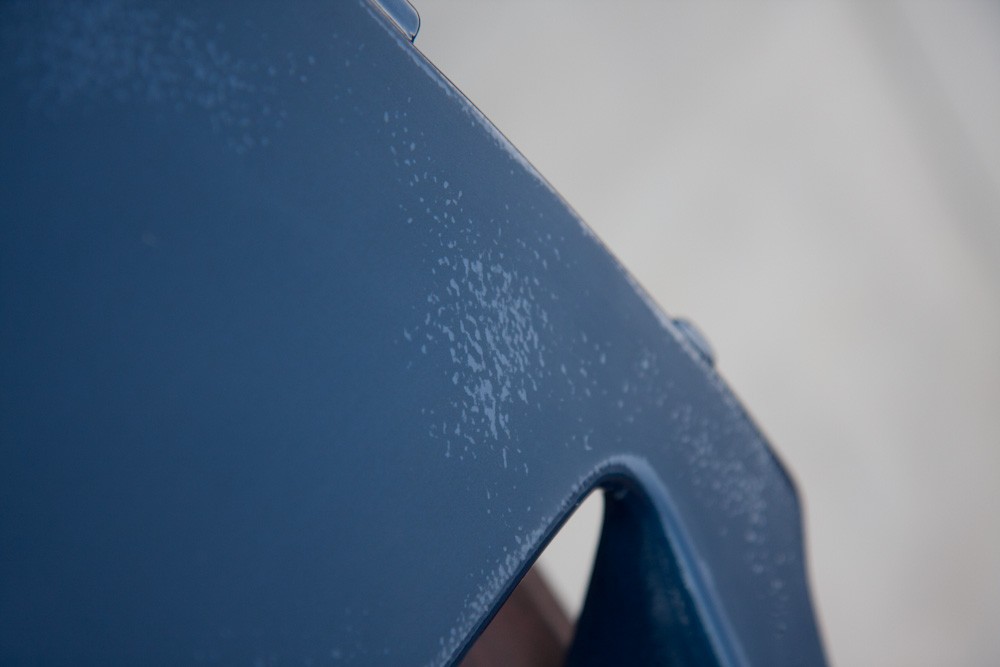
This is the panel after quite a bit of manual labor buffing the clear back to a shiny state. In case you were wondering, those gray parts are reflections of clouds, not matte parts of the paint…
Not bad! If you look closely, the clear that was sanded is still not as shiny as the parts that weren’t touched, but you can’t really tell unless you put it against the light and really examine the surface. It’s also clear that I managed to blow through the clear in a small spot. It’s hard to see in the picture, but just below and to the right of the solar reflection the paint is a bit lighter and “texture-y”. It’s about the size of a dime. That’s too bad, but I’m not going to attempt to spot-fix the clear. I’ll have to live with it.
All that remains until it can go back on is to put new “Honda Racing” decals on (I found some on ebay last year, so I have a complete set in store) and rivet a new Dzus fastener to the lower. The whole tab was cracked off, so I fixed that with plastifix but didn’t manage to source a new fastener until I found some at pro-bolt. Then I can start worrying about the NC30 fairings, which will be a way bigger project…
Pingback: Kitchen cabinets | Patrik's projects
Pingback: Engine guts part 2 – Patrik's projects